Turn a design into a product
Pick a product from your provider’s catalog, choose colors and sizes, place your design and set prices.
Video · 1:43 · Recorded Sep 25, 2026
What you’ll learn
- Choosing a product, print provider, colors and sizes
- Placing your design on the exact print area
- Checking your profit after fees before you create it
Transcript
Here's how to turn a design into a real product in your Printify shop, with the right colors, sizes and prices.
Products lists everything you've created, and where each one is listed. Click New product to make another.
First, pick the product from Printify's catalog. Search, or filter by type. We'll use the classic Bella and Canvas 3001 tee.
Then choose a print provider. Each one shows where it prints from. Printify Choice sends every order to a provider that has it in stock.
Pick your colors and sizes. If a color would hide part of your design, we'll warn you.
Next, choose one of your print-ready designs.
Place it on the print area. Drag it to move it, and use Size to scale it. We check the print resolution as you go, and fit it to the exact print area of every size.
The title, tags and description come from your design's listing, ready to edit.
Set your markup on the Printify cost. Every price is rounded to .99, and you can fine-tune each one after.
Choose the store, then click Create product. We set it up in Printify with mockups and prices, and it doesn't use any credits.
Here's your product, with its mockups and your listing.
Prices and profit shows what you make on every size after Etsy's fees. When it all looks right, click Publish to Etsy.
Next, let Autopilot find trending ideas and make listings for you.
More tutorials
 1:28
1:28Getting started
Take the tour: your POD Made Easy studio
A quick look around: the setup checklist, every page in the sidebar, and how credits work.
 1:11
1:11Getting started
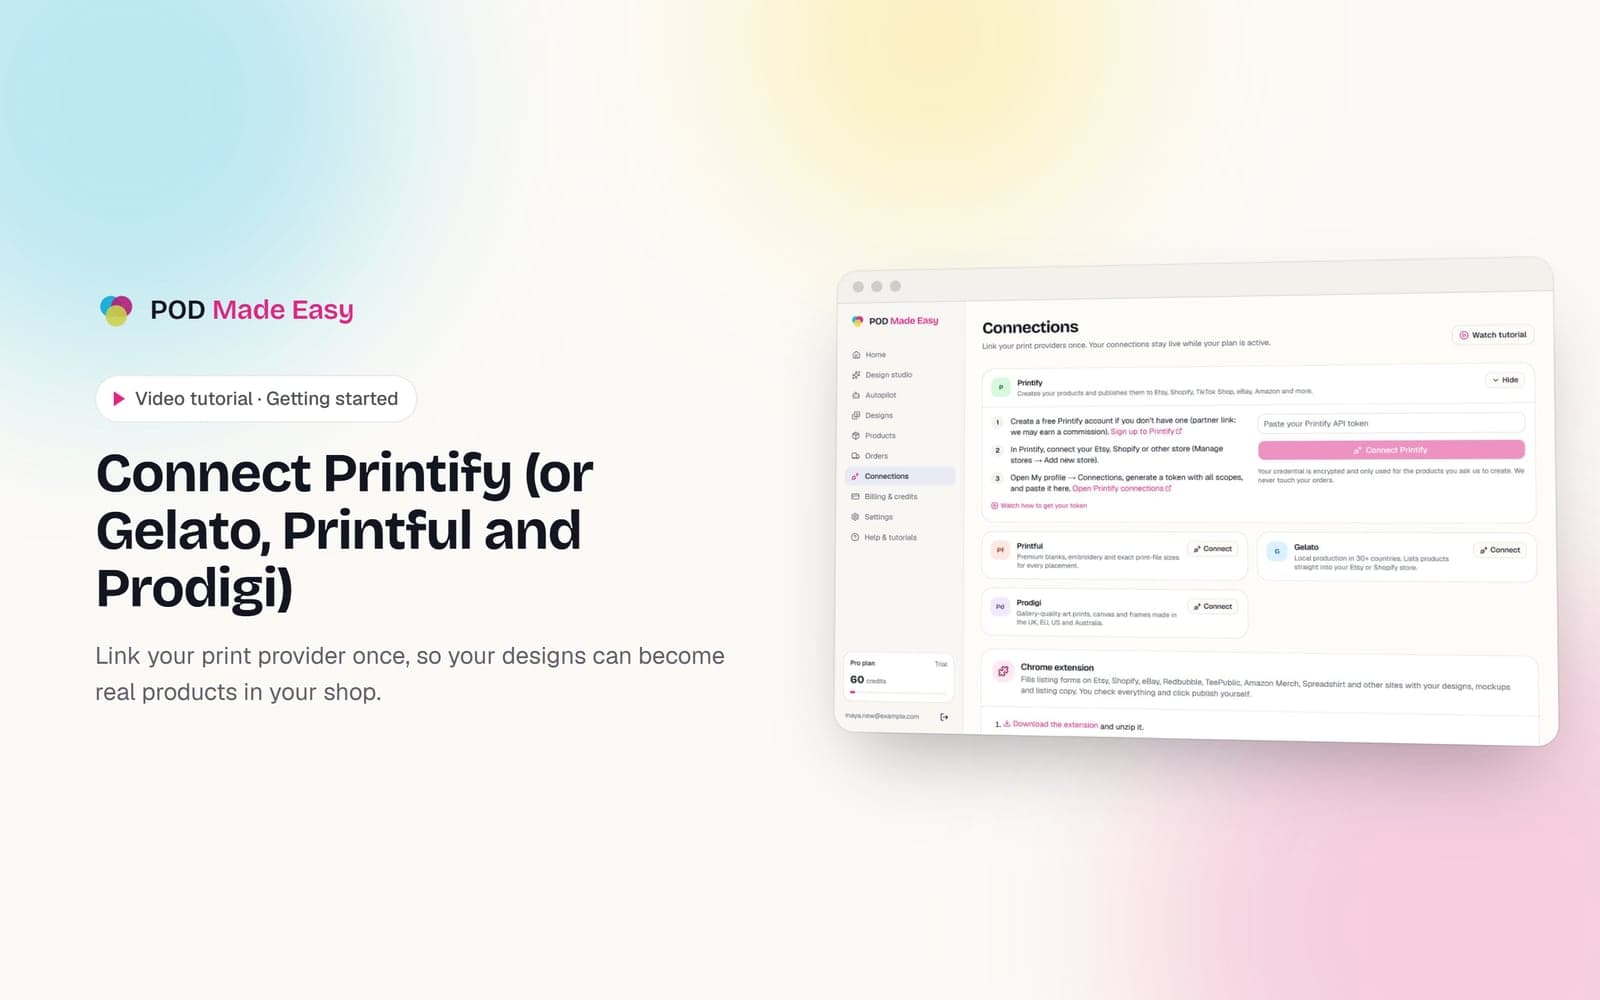
Connect Printify (or Gelato, Printful and Prodigi)
Link your print provider once, so your designs can become real products in your shop.
 1:33
1:33Designs
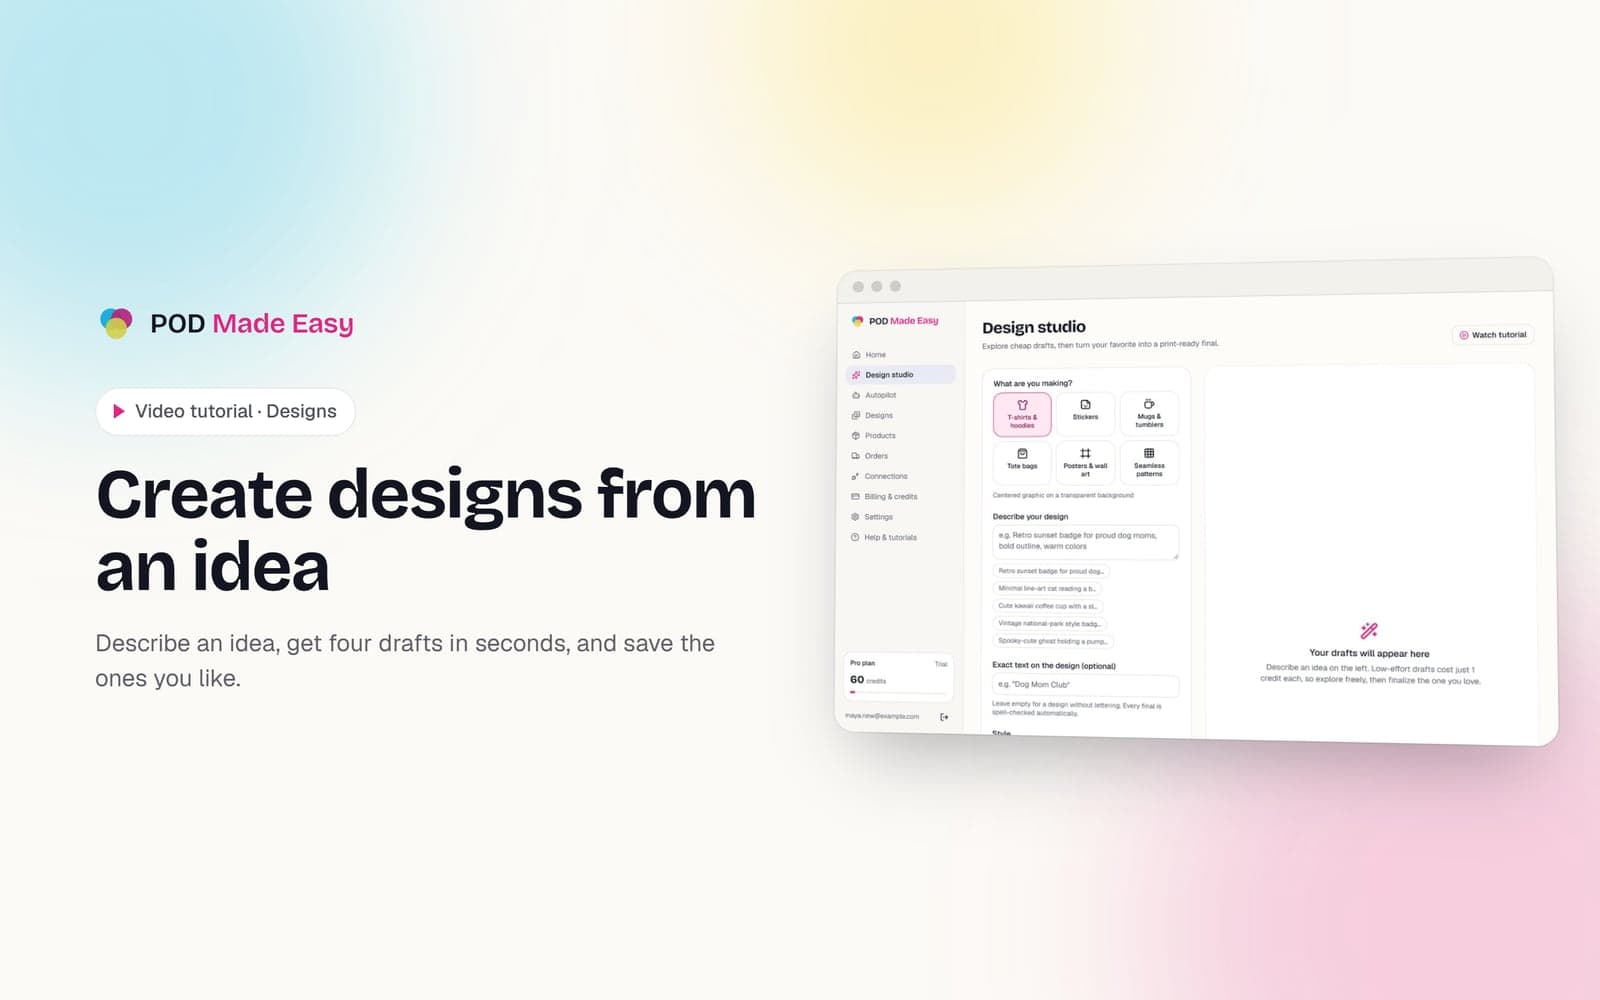
Create designs from an idea
Describe an idea, get four drafts in seconds, and save the ones you like.
Your next best-seller is one sentence away.
Start your 7-day trial and publish your first product today.
Start free trial