How to Vectorize an Image for Print-on-Demand (Free + Paid)
How to vectorize an image for print-on-demand: when vector helps, free tracing in Inkscape, Illustrator and AI tools, cleanup steps and a print-size PNG export.
By the POD Made Easy team · September 24, 2026 · 10 min read

To vectorize an image, you trace its shapes into editable paths, clean up the result and save it as an SVG. Inkscape does it for free (Path → Trace Bitmap), Adobe Illustrator has Image Trace, and online vectorizers and AI vector models can do it in one click. For print-on-demand, you then export a PNG at your product’s exact print size.
Vectorizing is the best fix for blurry flat art, logos and lettering, because vector shapes stay sharp at any size. It’s the wrong tool for photos and painterly art. This guide shows when it’s worth doing, how to do it with free and paid tools, how to clean up a trace and how to get a print-ready file at the other end.
Key takeaways
- Vectorize flat art, badges, line art and lettering; upscale photos and painterly art instead.
- Inkscape’s Trace Bitmap is free: Brightness cutoff for one-color art, Multiple scans → Colors for flat multi-color art.
- Every trace needs cleanup: delete the background shape, remove specks, merge colors and simplify paths.
- Retype lettering with a licensed font instead of trusting traced letters.
- Keep the SVG as your master and export a PNG at the exact print-area size for each product.
What vectorizing does (and doesn’t do)
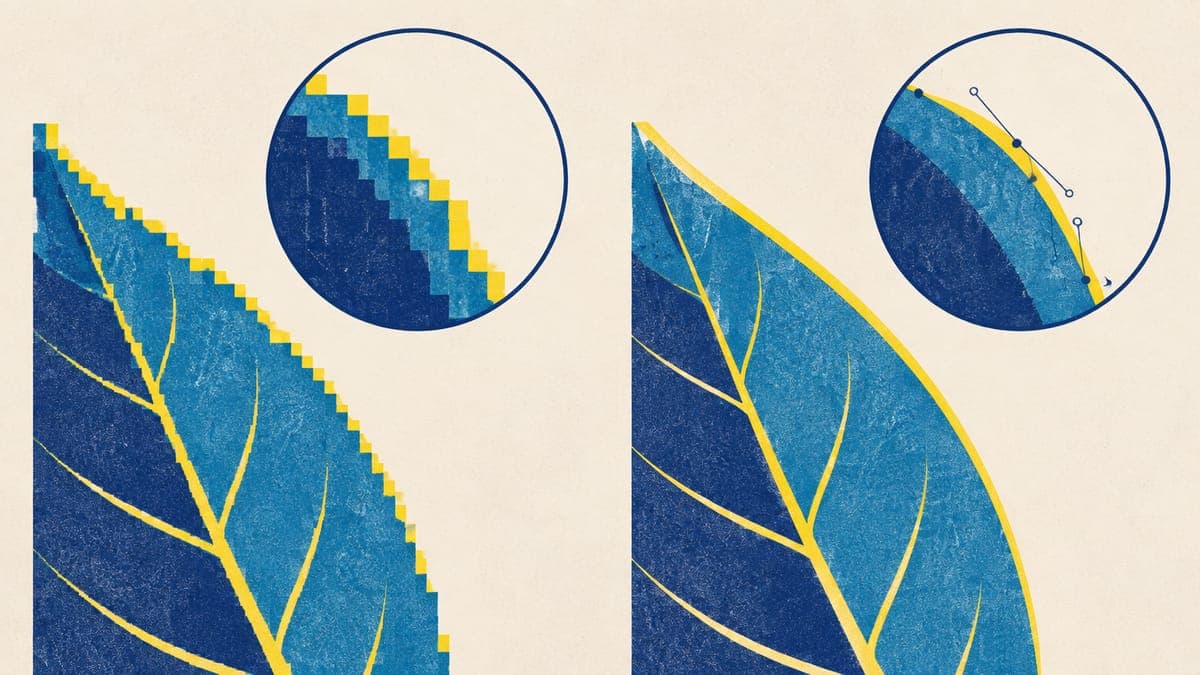
A raster image, such as a PNG or JPG, is a grid of pixels. A vector image stores shapes as points and curves, so it can be drawn at any size with clean edges. Vectorizing, also called tracing, finds the edges of the colored areas in a raster image and turns them into those shapes.
What it can’t do is recover detail that isn’t there. The tracer guesses where each edge runs, so a small or blurry source gives lumpy curves and rounded-off corners. Inkscape’s own tutorial is refreshingly honest about this: its tracer isn’t meant to produce an exact duplicate of the original, but a set of curves you can use as a starting point. Plan on a few minutes of cleanup for every trace.
If you want the full background on pixels, DPI and why vectors scale cleanly, our t-shirt design size and DPI guide covers raster vs vector in detail.
When to vectorize, and when not to
| Your artwork | Vectorize it? | Why |
|---|---|---|
| Text-only and lettering designs | Yes, or retype it | Crisp letters at any size, and typos are easy to fix |
| Logos, badges and emblems | Yes | Flat shapes trace cleanly and recolor in seconds |
| Line art and one-color illustrations | Yes | Clean edges and no background to remove |
| Flat AI art with 3–8 colors | Usually | Traces well if the source is sharp and the colors are distinct |
| Old engravings and woodcut-style art | Often | One-color traces can look great; confirm you have the rights first |
| Watercolor, painterly or textured art | No | Tracing flattens texture into blotches; upscale instead |
| Photos | No | The trace turns into a posterized cartoon |
| Soft gradients, glows and shadows | Rarely | They turn into visible bands; rebuild them as solid or halftone shapes |
For anything in the “no” rows, you need more real pixels rather than paths. Our guide on how to upscale an image for print covers AI upscalers and their pitfalls. Vintage illustrations are a popular source for tracing, but only if they’re genuinely free to use; see our guide to public domain images for print-on-demand before you trace anything you didn’t make.
How to vectorize an image in Inkscape (free)
Inkscape is a free, open-source vector editor for Windows, Mac and Linux, and its Trace Bitmap tool (built on the Potrace tracing engine) handles most POD vectorizing jobs. The steps:
- Import the image. Use File → Import and pick the largest, cleanest version you have. Select it with the Selector tool.
- Open Trace Bitmap. Go to Path → Trace Bitmap (Shift+Alt+B).
- Choose a mode. On the Single scan tab, Brightness cutoff makes a one-color silhouette of the dark areas and suits most line art; raise the threshold to capture more of the image. Edge detection traces outlines only. Centerline tracing turns line drawings and handwriting into editable strokes instead of filled shapes. For multi-color flat art, use the Multiple scans tab with Colors, and set the number of scans to the number of colors in your design.
- Preview and apply. Click Update to preview, adjust, then Apply. The vector version lands exactly on top of the original, so drag it aside to compare, then delete the bitmap.
- Simplify. Select the traced paths and use Path → Simplify (Ctrl+L) to cut the number of nodes. Undo if corners start to melt; simplifying is a balance between smoothness and accuracy.
- Separate the colors. A multiple-scan trace creates one object per color, stacked. Ungroup them, then delete the object that represents the background.
How to vectorize in Illustrator with Image Trace
If you already pay for Adobe Illustrator, Image Trace gives you more control over colors and corners. The usual workflow:
- Place the image with File → Place and select it.
- Open Window → Image Trace.
- Pick a preset close to your artwork, such as Black and White Logo for one-color designs or 3, 6 or 16 Colors for flat multi-color art.
- Open the advanced options to fine-tune paths, corners and noise, and use the option to ignore white, where it’s offered, so the background isn’t traced.
- Click Expand (or Object → Image Trace → Expand) to turn the trace into editable paths.
- Reduce anchor points with Object → Path → Simplify, then check curves at high zoom.
Online vectorizers and AI vector models
Online vectorizers do the tracing on their servers: upload, preview, download an SVG. Vectorizer.AI, for example, lets you preview results for free and charges a monthly subscription to download them at the time of writing. They’re quick for logos and flat art, but read the upload terms before you send them licensed or client artwork. Printify’s own help center suggests vectorizing low-quality files as one way to improve them.
The other route is to skip tracing altogether and generate artwork as a vector from the start. AI vector models, such as Recraft’s vector models, output SVG files directly; on OpenRouter, Recraft v4.1 vector costs about $0.08 an image at the time of writing. POD Made Easy uses this approach for vector finals: the design is created as an SVG and rendered at the exact print-area size for your product. Generated SVGs still need a check for stray shapes and spelling, like any trace.
| Method | Cost | Best for | Watch out for |
|---|---|---|---|
| Inkscape Trace Bitmap | Free, open source | One-color art, line drawings, simple color designs | Stacked color layers; always simplify and clean up |
| Illustrator Image Trace | Adobe subscription | Fine control with presets and Expand | Presets that keep too much noise |
| Online vectorizers | Free previews; downloads often paid | Fast results for logos and flat art | Upload terms and privacy; check curves at 400% zoom |
| AI vector generation | Per image (about $0.08 for Recraft v4.1 vector on OpenRouter) | New designs that start life as SVG | Stray shapes, node counts and misspelled text |
| Redrawing by hand | Your time | Simple logos and lettering that must be perfect | Slowest, but the cleanest result |
Prices at the time of writing (September 2026). Check each tool’s current plans.
Clean up the trace before you print
A raw trace almost always has problems you can’t see at normal zoom. Zoom to 400% and work through this list:
- Delete the background shape. Tracers often turn a white background into a white shape. On a dark shirt, that shape prints as a white box. Delete it so the background is truly empty.
- Remove specks. Tiny islands from JPEG noise or paper texture print as dirt. Delete them, or retrace with a higher noise or speckle setting.
- Merge near-duplicate colors. Three shades of almost the same red become one. Fewer colors print more consistently and are easier to recolor for dark shirts.
- Close the gaps. Where two traced colors meet, look for hairline slivers of empty space. They print as thin lines of shirt color; overlap the shapes slightly to close them.
- Retype the lettering. Traced letters come out wobbly. Delete them and set the words again with a licensed font; our list of the best fonts for t-shirts only includes fonts that are free for commercial use.
- Thicken thin lines. Printful asks for lines of at least 1 pt (about 4 px at 300 DPI) on its DTF prints, and hairlines soften on DTG. See our DTG vs DTF comparison for how each method handles fine detail.
- Convert text to outlines. Any live text left in the SVG depends on the font being installed wherever the file is opened. Convert it to paths before you save the master.
Skip the tracing and the cleanup
Ask POD Made Easy for a vector final and the design is drawn as an SVG from the start, then delivered at your product’s exact print-area size with clean transparency and spell-checked lettering.
Start your free trialExport a print-ready PNG at the exact size
Keep the SVG as your master file, but upload a PNG unless you’re sure your provider handles SVG well. Printify accepts JPEG, PNG and SVG files (SVGs up to 20 MB), while Printful’s apparel guidelines ask for PNG or JPEG print files. A PNG at the exact print-area size works everywhere.
- Find the print area in pixels. Read it from your provider’s product editor. A 15 × 18 inch full-front area at 300 DPI is 4500 × 5400 px; a 12 × 16 inch area is 3600 × 4800 px.
- Export at that size. In Inkscape, open File → Export (Shift+Ctrl+E), choose PNG and type the width in pixels. In Illustrator, set the artboard to the print area in inches and export at 300 ppi, which gives 4500 × 5400 px for a 15 × 18 inch artboard.
- Keep the background transparent. Don’t add a background color or matte. Our guide to transparent PNGs for t-shirts covers the export settings that preserve clean edges.
- Export once per product. A mug, a hoodie and a sticker all have different print areas. The SVG master lets you re-export each one sharp, rather than stretching a PNG made for another product.
Vectorizing mistakes to avoid
- Tracing a tiny, compressed JPG. Compression blocks become bumps in every curve. Find a larger original or upscale first.
- Tracing photos and painterly art. The result looks posterized and cheap. Use an upscale or a high-resolution render instead.
- Keeping hundreds of colors. A photo-style trace creates thousands of shapes, heavy files and SVGs that can exceed Printify’s 20 MB SVG limit.
- Trusting traced text. Letters come out uneven. Retype them.
- Tracing someone else’s design. Converting artwork to vector doesn’t change who owns it. Only trace your own work, work you’ve licensed or genuinely public-domain images.
- Forgetting the background shape. It’s the most common cause of a white box on a dark shirt.
Try this idea in POD Made Easy
“Flat vector sticker-style illustration of a snail carrying a tiny mushroom house, thick outlines, four flat colors, isolated on transparent background”
Vectorizing takes a little practice, but once a design is clean vector art, it stops being a one-product file. The same master can become a shirt, a sticker, a mug or a poster, each exported sharp at its own size. For how AI drafts fit into that process, see our AI t-shirt design workflow.
Frequently asked questions
- Does vectorizing an image improve print quality?
- For flat art, logos and lettering, yes: vector shapes stay sharp at any size, so edges print crisply. It won’t add detail to photos or painterly art, and a trace of a blurry source comes out lumpy, so clean it up or redraw it.
- Can I upload an SVG file to Printify?
- Yes. Printify accepts JPEG, PNG and SVG files, with SVGs up to 20 MB, and recommends JPEG or PNG for photos and other raster images. Many other providers ask for PNG or JPEG, so export a PNG at the print-area size too.
- What’s the best free way to convert a PNG to SVG?
- Inkscape is free and open source. Import the PNG, run Path → Trace Bitmap, then delete the background shape and simplify the paths. Online vectorizers are faster but often charge to download the result.
- Why does my traced design look blobby?
- The source is usually too small, blurry or full of JPEG noise, or the trace uses too few colors. Start from the largest, cleanest file you have, upscale it if needed, try another mode or color count, then simplify the paths.
- Should I convert text to outlines before uploading an SVG?
- Yes. An SVG with live text depends on the font being available wherever it’s rendered, and a missing font gets swapped for another. Converting text to paths locks the lettering exactly as you designed it.
Keep reading
More design guides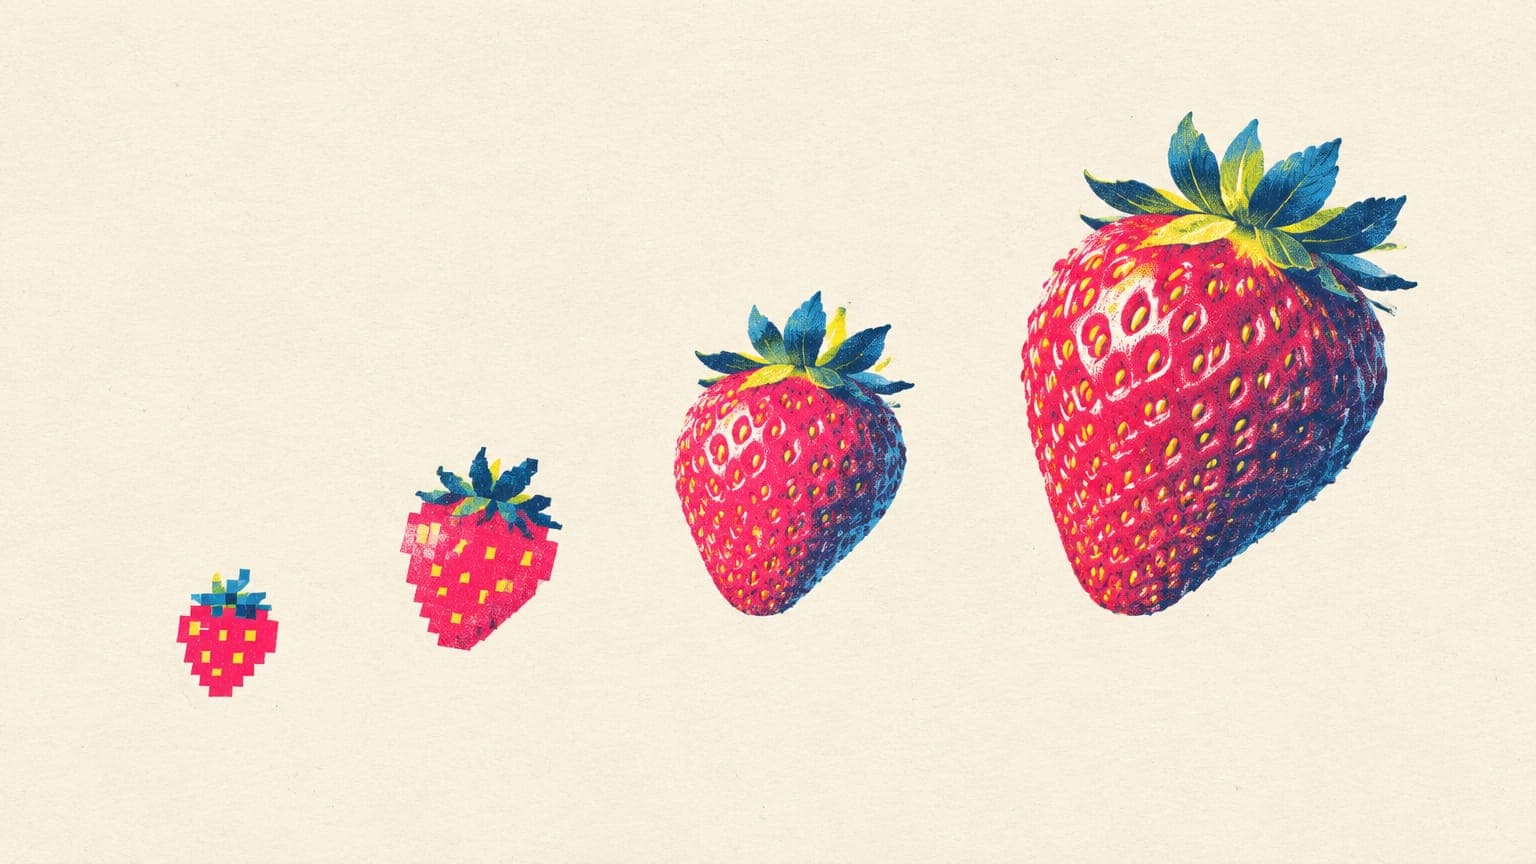
Design
How to Upscale an Image for Print (Without Blurry Shirts)
How to upscale an image for print: the DPI math, why changing the DPI number adds nothing, AI upscalers and their artifacts, and a workflow to 4500 × 5400 px.
Sep 24, 2026 · 8 min read
Design
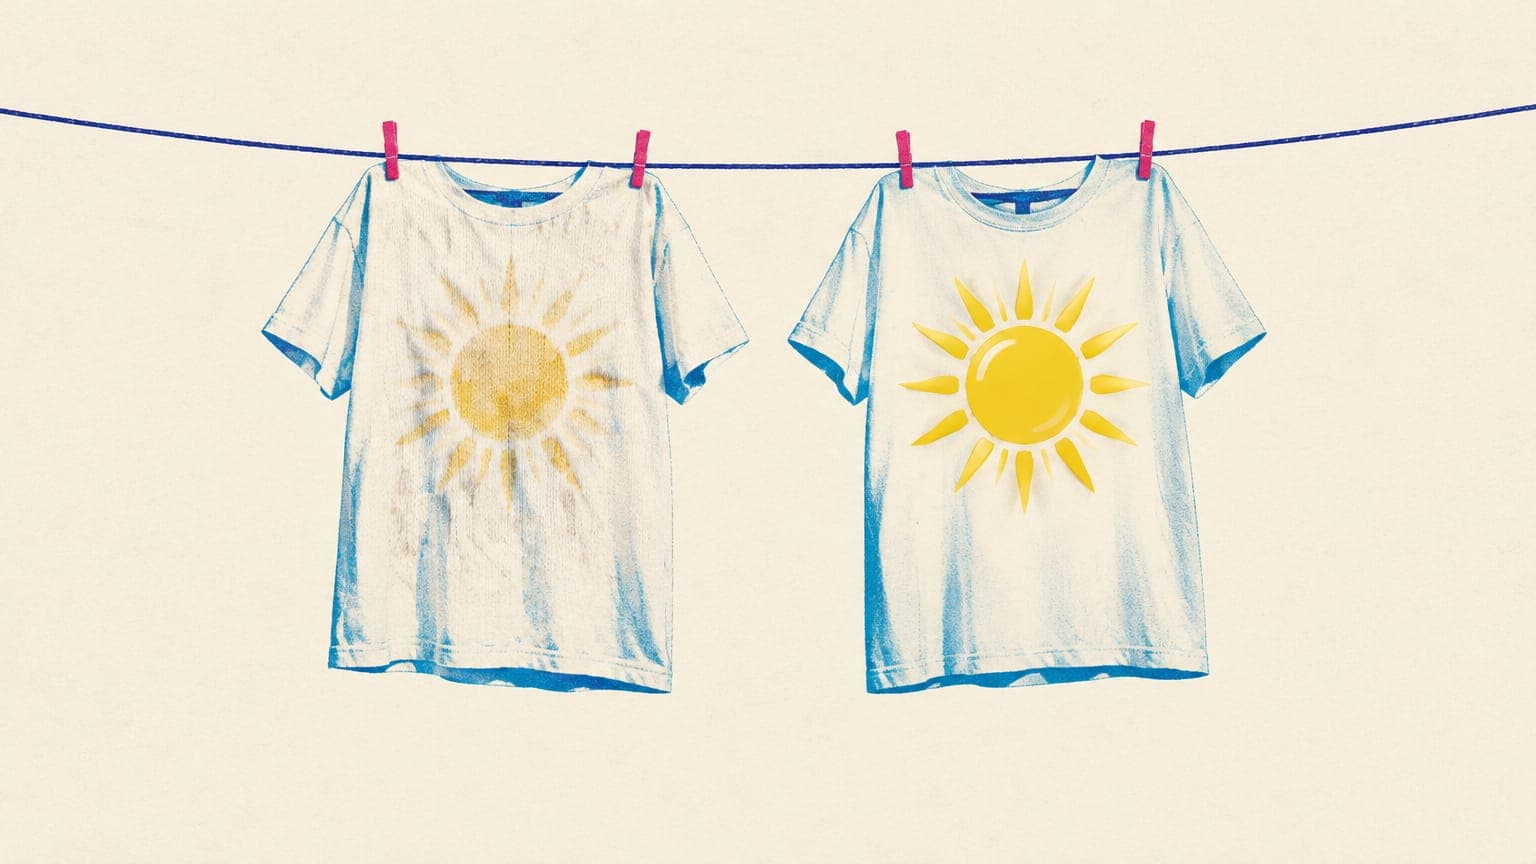
DTG vs DTF Printing: Differences, Pros and Cons for POD
DTG vs DTF printing for print-on-demand: how each works, feel, durability and fabrics, how Printify, Printful and Gelato use them, and how to design for both.
Sep 24, 2026 · 9 min read
Design
Can You Use Canva for Print-on-Demand? License and Workflow
Yes, if your design is original. What Canva’s license allows on print-on-demand merch, what it bans, and the export settings that give you print-ready files.
Sep 24, 2026 · 10 min read