How to Upscale an Image for Print (Without Blurry Shirts)
How to upscale an image for print: the DPI math, why changing the DPI number adds nothing, AI upscalers and their artifacts, and a workflow to 4500 × 5400 px.
By the POD Made Easy team · September 24, 2026 · 8 min read
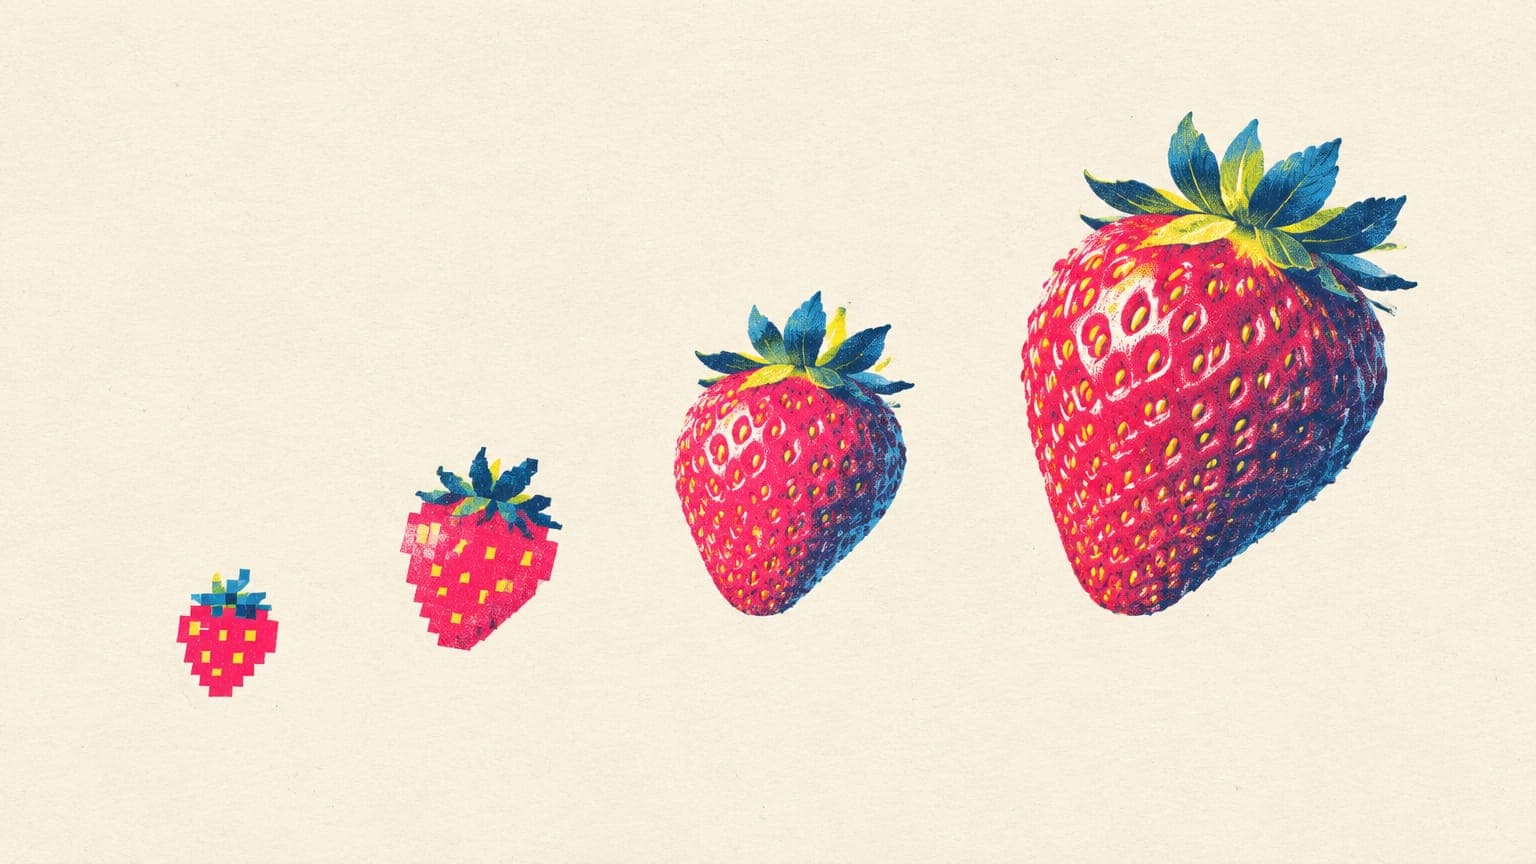
To upscale an image for print, you need more real pixels, not a bigger DPI number. The math is pixels = inches × DPI, so a full-front shirt printed 15 × 18 inches at 300 DPI needs a 4500 × 5400 px file. An AI upscaler can get a small image most of the way there by adding plausible detail; for flat art, vectorizing is often cleaner; and sometimes the honest fix is to print the design smaller.
Below: how many pixels each product needs, why the DPI box doesn’t help, which upscaling tools work, what they get wrong, and a step-by-step workflow from a typical 1024-pixel AI image to a file ready to upload.
Key takeaways
- Print size = pixels ÷ DPI. Aim for 300 DPI at the printed size; about 150 DPI is the floor most providers accept for apparel.
- Changing the DPI setting, or enlarging in a basic editor, adds no real detail.
- AI upscalers guess at missing detail: great for illustration, risky for text, faces and fine patterns.
- A 1024 px image upscaled 4× is 4096 px wide, enough for a design about 13.6 inches wide at 300 DPI.
- Flat art and lettering print sharper as vectors than as upscales.
How many pixels do you need?
Start from the print area, not the image. Multiply each side in inches by 300 for the target, or by 150 for the practical minimum. These examples cover the most common POD products:
| Size | Pixels at 300 DPI | Pixels at 150 DPI | |
|---|---|---|---|
| T-shirt, full front | 15 × 18 in | 4500 × 5400 | 2250 × 2700 |
| T-shirt, standard front | 12 × 16 in | 3600 × 4800 | 1800 × 2400 |
| Hoodie front (a large example) | 14 × 14 in | 4200 × 4200 | 2100 × 2100 |
| Left-chest print | 4 × 4 in | 1200 × 1200 | 600 × 600 |
| Poster | 18 × 24 in | 5400 × 7200 | 2700 × 3600 |
Examples only. Your provider’s print area is the number that counts: Printify shows it in pixels in the Product Creator, and Printful lists it under each product’s File guidelines.
Providers set their own floors. At the time of writing, Printful recommends at least 150 DPI for DTG apparel and 300 DPI for its DTF prints, Printify recommends 300 DPI while accepting 120–150 DPI for very large products like blankets and tapestries, and Gelato suggests 300 DPI and warns that images below 150 DPI may look pixelated. Our t-shirt design size and DPI guide explains the math in more depth, and there are separate guides for hoodie print areas and poster sizes and ratios.
Why changing the DPI number doesn’t work
An image file stores its pixels plus a DPI (or PPI) label that tells software how large to print them. Change the label from 72 to 300 without resampling, and the pixel count stays exactly the same: the file just claims to print smaller. Turn resampling on, and a basic editor invents new pixels by blending the ones you have, so the file gets bigger but no sharper.
The big providers all say the same thing. Printful and Gelato both warn that simply raising the resolution of a low-resolution image won’t produce a sharper print. Printify adds a twist worth knowing: its help center says it automatically enhances low-resolution uploads before production, but it can’t detect files whose resolution was increased artificially, so a quick resample in a basic editor can stop that safety net from working.
How AI upscalers work, and what they get wrong
AI upscalers are trained models that predict what a sharper version of your image would look like. Upscayl’s own documentation puts it plainly: it enhances images by guessing what the details could be. When the guess is good, a soft 1024-pixel illustration becomes a crisp 4096-pixel one. When it isn’t, you get problems that only show up on the printed shirt:
- Warped lettering. Letters grow odd serifs, merge or change shape. Never trust upscaled text without reading it letter by letter.
- Waxy or plastic textures. Fur, skin, fabric and wood can turn smooth and artificial.
- Invented patterns. Grass, hair, water and noise can become repeating textures that weren’t in the original.
- Halos and oversharpening. Bright or dark rims appear along edges, which look like outlines on a shirt.
- Amplified junk. JPEG blocks, stray specks and faint backgrounds get sharpened into visible marks.
- Lost transparency. Some tools flatten the alpha channel or save a JPG, which brings back a solid background.
Upscaling tools compared
| Tool | Cost | How it scales | Good for | Watch out for |
|---|---|---|---|---|
| Upscayl | Free, open source | AI models (Real-ESRGAN based), run on your computer | Illustrations, AI art, batches | Needs a Vulkan-compatible graphics card |
| Adobe Super Resolution (Camera Raw, Lightroom) | Adobe subscription | Doubles width and height (4× the pixels) | Photos and detailed art | One fixed step; resize afterward |
| Online AI upscalers | Free tiers, then credits or plans | Varies by site | Quick one-off jobs | Upload terms, size limits and JPG outputs |
| Printify’s automatic enhancement | Included | Enhances low-resolution uploads before production | A safety net | Limited gains; can’t detect artificially enlarged files |
| Regenerating at 4K | Per image | Native high-resolution output from some AI image models | AI art you can re-create | The new render won’t match the old one exactly |
| Vector tracing | Free to paid | Resolution-free shapes | Flat art and lettering | Not for photos or painterly styles |
Features and prices change. Check each tool’s current terms before you rely on it.
Adobe says Super Resolution doubles the linear resolution of a photo, giving four times the pixel count, so a 1500-pixel-wide image comes out 3000 pixels wide. Upscayl is free and actively maintained, but it runs on your own graphics card and won’t work on many computers with only integrated graphics. If your art came from an AI generator, check whether the model can render natively at 2K or 4K before you upscale anything; a native render usually beats an upscale. Our comparison of the best AI image generators for t-shirt designs covers which models offer higher resolutions.
Workflow: from a 1024 px AI image to a print file
- Start from the best original. Download the full-resolution file, not a screenshot or a chat-app copy, and prefer PNG over JPG.
- Decide: upscale or vectorize. Flat colors and lettering usually trace better than they upscale (see below). Textured, painterly and photographic art should be upscaled.
- Upscale 4×. Use a model suited to the art: illustration-style models for flat and cartoon art, photo models for realistic images. A 1024 × 1024 image becomes 4096 × 4096.
- Handle transparency. If your upscaler drops the transparent background, upscale the art on a plain background, then remove the background at full size and clean the edges. Our transparent PNG guide covers halos and edge cleanup.
- Inspect at 100%. Check text, faces, hands, edges and patterns. Fix small problems, or regenerate if the upscale invented something strange.
- Place it on the print canvas. Create a transparent canvas at the print area’s size (4500 × 5400 for a full-front tee), then place the art. Scale it down to fit if needed, but don’t stretch it up in the provider’s editor.
- Check and export. Confirm the effective DPI at the printed size, then export a PNG with transparency.
When to vectorize instead of upscaling
If your design is made of flat colors, clean outlines and lettering, don’t upscale it at all. Trace it into vector shapes, clean them up and export at any size you like. Upscalers struggle most with exactly the things flat designs are made of: long straight edges, even color fills and text. Our guide on how to vectorize an image for print walks through free and paid tracing tools.
Start at print size instead of rescuing small files
POD Made Easy creates every final at the exact print-area pixel size for the product you choose, as a vector, an HD transparent PNG or 4K artwork, and checks resolution and transparency before anything is published.
Start your free trialWhen printing smaller is the better fix
Sometimes the image simply doesn’t have the detail for a big print, and no tool will fix that convincingly. In that case, shrink the print to what the pixels support:
- Left-chest and pocket prints. A 1024-pixel image covers about 3.4 inches at 300 DPI, which is a normal left-chest size.
- Stickers. The same image makes a sharp 3-inch sticker.
- Large wall art. Big posters are seen from across a room, so about 150 DPI is often acceptable at the largest sizes, which halves the pixels you need.
A crisp 8-inch print looks better than a blurry 12-inch one, and buyers notice blur far more than they notice a slightly smaller design. If the art came from Midjourney, our guide to Midjourney for print-on-demand covers its size limits and the fixes that work best for it.
Upscaling mistakes that show up on the shirt
- Upscaling a screenshot or a compressed copy. You’re enlarging compression damage. Go back to the original file.
- Upscaling twice in a row. Each pass adds its own artifacts. Do one good 4× pass instead of two 2× passes with different tools.
- Stretching in the provider’s editor. Dragging a design bigger lowers its effective DPI. Check the resolution warning after every resize.
- Judging by the thumbnail. Upscaling problems hide at small sizes. Inspect at 100% zoom.
- Ignoring the text. Upscalers are worst at lettering. Replace upscaled text with real type set in a licensed font.
Try this idea in POD Made Easy
“Vintage botanical illustration of wild blackberries with leaves and flowers, fine ink linework with flat color fills, isolated on transparent background”
Frequently asked questions
- How do I make an image 300 DPI for printing?
- Give it enough pixels for the print size: inches × 300. A 12-inch-wide print needs 3,600 pixels across. Typing 300 into the resolution box doesn’t add pixels, so you need a larger original, a good AI upscale or a vector version.
- What’s the best free image upscaler for print-on-demand?
- Upscayl is a free, open-source AI upscaler for Windows, macOS and Linux, though it needs a Vulkan-compatible graphics card. Whichever tool you use, check text, edges and textures at 100% zoom before uploading.
- Can I upscale a 1024 × 1024 image to 4500 × 5400?
- Not without distorting it, because the shapes differ. Upscale it 4× to 4096 × 4096, then place it on a transparent 4500 × 5400 canvas. At 300 DPI it covers about 13.6 × 13.6 inches, which is plenty for most shirt fronts.
- Does Printify fix low-resolution images automatically?
- Printify says it automatically enhances low-resolution print files before production, but the improvement is limited and it can’t detect files whose resolution was increased artificially. Uploading a properly sized file is still the safer route.
- Is it better to upscale or vectorize an image?
- Vectorize flat art, logos and lettering, which then print sharp at any size. Upscale painterly, textured and photographic images, which lose their character when they’re traced into flat shapes.
Keep reading
More design guides
Design
How to Vectorize an Image for Print-on-Demand (Free + Paid)
How to vectorize an image for print-on-demand: when vector helps, free tracing in Inkscape, Illustrator and AI tools, cleanup steps and a print-size PNG export.
Sep 24, 2026 · 10 min read
Design
Can You Use Canva for Print-on-Demand? License and Workflow
Yes, if your design is original. What Canva’s license allows on print-on-demand merch, what it bans, and the export settings that give you print-ready files.
Sep 24, 2026 · 10 min read
Design
DTG vs DTF Printing: Differences, Pros and Cons for POD
DTG vs DTF printing for print-on-demand: how each works, feel, durability and fabrics, how Printify, Printful and Gelato use them, and how to design for both.
Sep 24, 2026 · 9 min read