T-Shirt Design Size and DPI: The Exact Numbers for POD
The exact t-shirt design size for print-on-demand: 4500 × 5400 px at 300 DPI, why 150 DPI is the floor, print size math, plus stickers, mugs and posters.
By the POD Made Easy team · September 24, 2026 · 12 min read
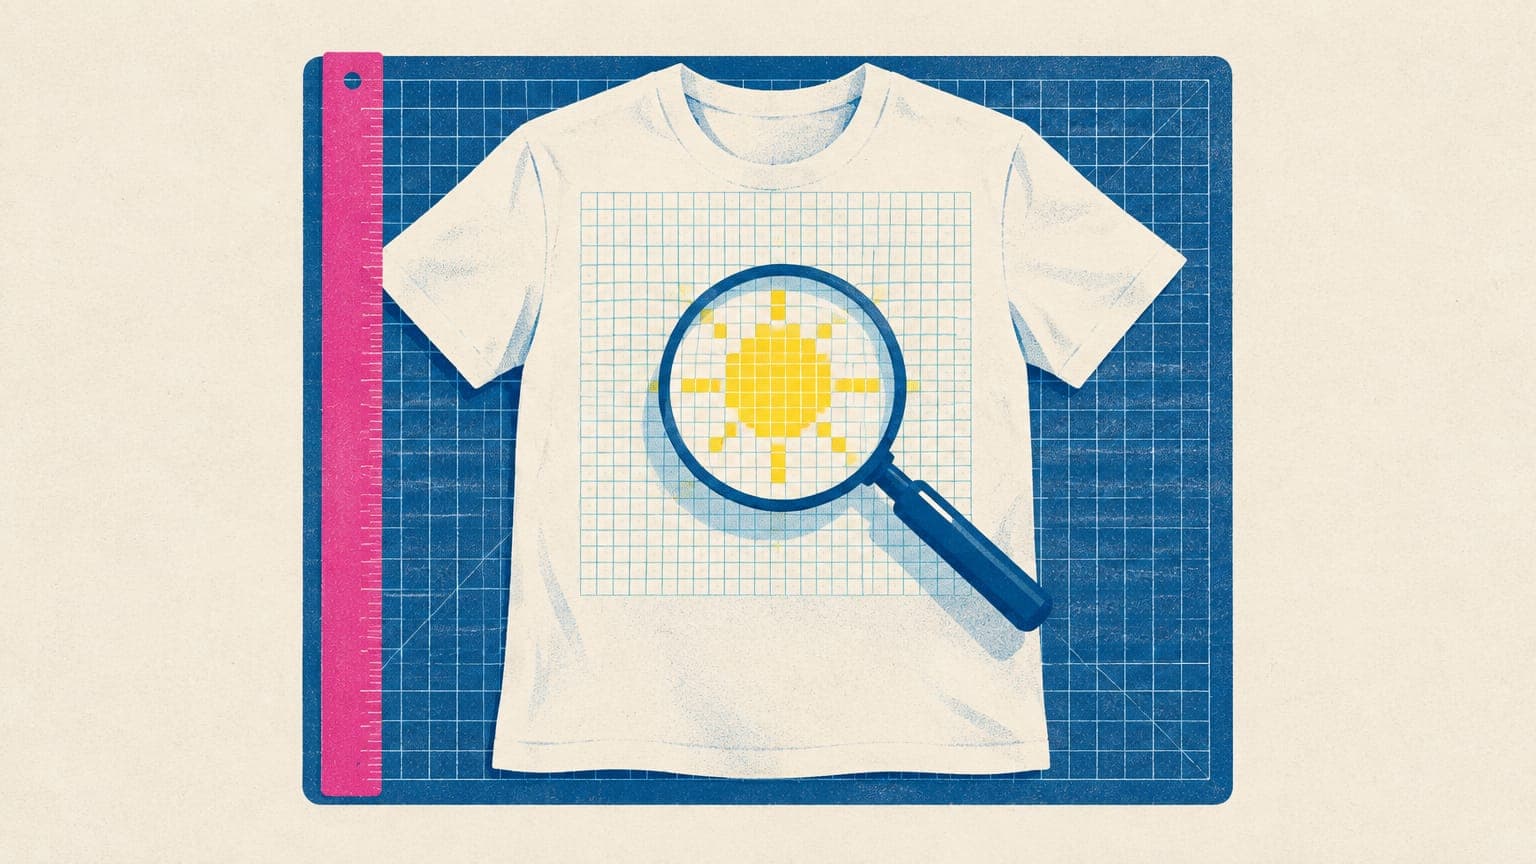
The standard t-shirt design size for print-on-demand is 4500 × 5400 pixels for a full-front print, which covers 15 × 18 inches at 300 DPI. If you’ve ever uploaded a design that looked crisp on screen and got back a soft, jagged or oddly small print, the file is the first thing to check: how many pixels it has, and how far those pixels are being stretched on the shirt.
The numbers behind print-on-demand (POD) files are simple once you see how pixels, inches and DPI fit together, and you don’t need design training to get them right. This guide gives you the exact figures for t-shirts, a formula to check any image in seconds, and sensible starting sizes for stickers, mugs and posters. Ten minutes here saves you from blurry prints and the refunds and one-star reviews that follow them.
Key takeaways
- A full-front t-shirt file is usually 4500 × 5400 pixels, which prints at 15 × 18 inches at 300 DPI.
- Maximum sharp print size = pixels ÷ DPI. Aim for 300 DPI and treat roughly 150 DPI as the floor.
- Typing a bigger DPI number into a file adds no detail. Only real pixels or a vector original do.
- Every product and print partner has its own print area, so check the template before you export.
- Keep text and flat art as vectors, then export a PNG at the exact print-area size.
The short answer: 4500 × 5400 pixels at 300 DPI
For a standard adult t-shirt front, the most widely used file size is 4500 × 5400 pixels. At 300 DPI that fills a print area of 15 × 18 inches, a generous full-front print on a regular tee. Amazon’s Merch on Demand uses exactly these dimensions for its standard t-shirt template (see our Merch by Amazon guide), and many POD providers use the same or a smaller front print area. The precise numbers vary by garment and print partner, so always read the print area in your provider’s product editor before you export.
4500 × 5400
Pixels for a full-front tee print (width × height)
Source: Amazon Merch on Demand template
15 × 18 in
What that file prints at 300 DPI (4500 ÷ 300 and 5400 ÷ 300)
150–300 DPI
The range that matters: 300 is the target, about 150 the floor
Those numbers answer the question for a typical shirt front. The rest of this guide explains why they work, so you can size any design for any product without guessing.
Pixels, inches and DPI in plain English
Three units get mixed up constantly, and most file problems come from treating them as the same thing:
- Pixels are the tiny squares of color that make up your image file. A 4500 × 5400 image is 4,500 pixels across and 5,400 down. Pixel count is the only number that tells you how much detail a file actually holds.
- Inches (or centimeters) are the physical size of the print on the product.
- DPI (dots per inch) connects the two: how many pixels get packed into each printed inch. Strictly speaking, image files have PPI (pixels per inch) and printers have DPI, but POD providers and most tutorials say DPI for both, so this guide does too.
The relationship is one line of math: pixels = inches × DPI. A 12-inch-wide print at 300 DPI needs 3,600 pixels across. The same 12 inches at 150 DPI needs only 1,800 pixels, but each pixel is then twice as wide, so edges, text and fine detail look noticeably softer.
Why 300 DPI is the target and 150 DPI is the floor
300 DPI is the long-standing print standard because, at normal viewing distance, most people can’t pick out individual pixels at that density. Fabric is more forgiving than photo paper: the weave of the shirt and the way ink sinks into cotton soften fine detail anyway. That’s why a bold illustration printed from a 150–200 DPI file can look perfectly fine on a tee.
So why aim for 300? Three reasons:
- Text and thin lines. Lettering, outlines and small details are where low resolution shows first. At low DPI, the curves of letters look visibly stepped up close, and buyers do look closely at text.
- Headroom. A 300 DPI file can be scaled up a little, cropped or nudged in your provider’s editor without falling below the floor.
- Reuse. The same artwork often ends up on mugs, stickers and posters, whose smooth surfaces show far more detail than cotton does.
Below roughly 150 DPI at the printed size, most designs start to look soft or pixelated, and many provider editors show a low-resolution warning somewhere around there. The exact threshold differs from provider to provider, so treat that warning as a stop sign, not a suggestion.
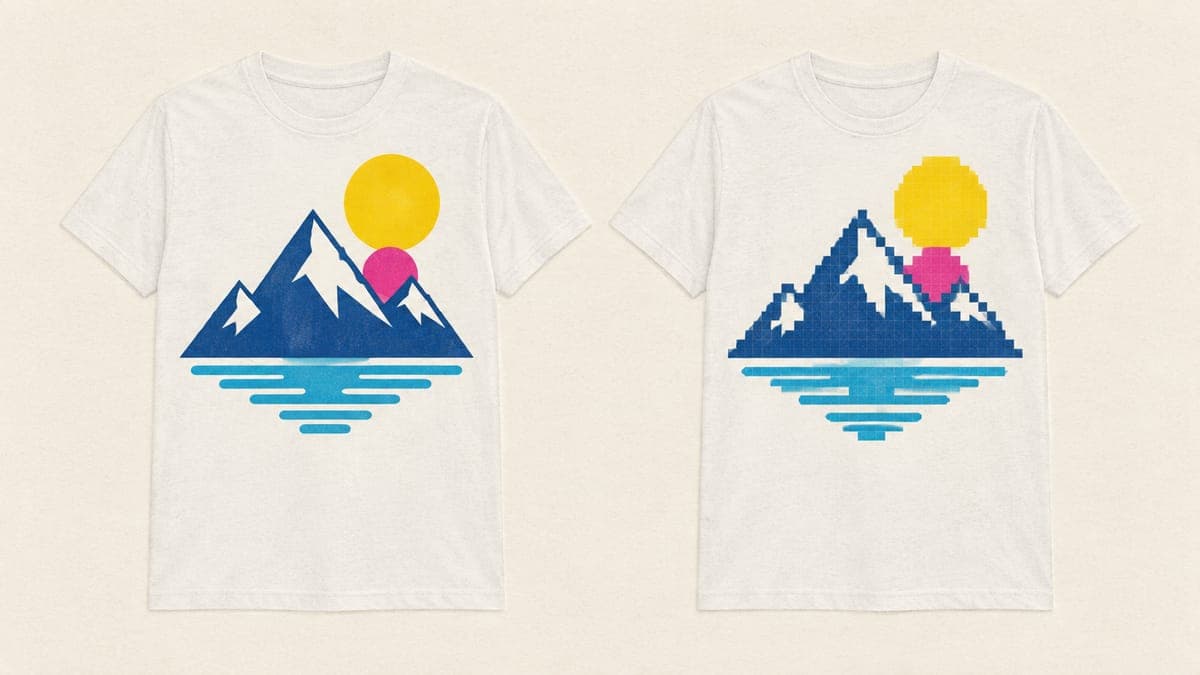
How to calculate the maximum print size of any image
Flip the formula around and you can check any file in seconds:
Maximum print size in inches = pixels ÷ DPI
Work out width and height separately. A 3000 × 3000 pixel image prints sharply up to 10 × 10 inches at 300 DPI, or up to 20 × 20 inches if you accept 150 DPI. To check a design you’ve already placed, reverse it: effective DPI = pixels ÷ printed inches. Stretch a 1,500-pixel-wide image across 12 inches of shirt and you get 125 DPI, below the floor. Print it 5 inches wide instead and you’re back at 300.
| Image width | Sharp width at 300 DPI | Minimum-quality width at 150 DPI |
|---|---|---|
| 1,024 px (a common AI image size) | 3.4 in | 6.8 in |
| 2,048 px | 6.8 in | 13.7 in |
| 3,000 px | 10 in | 20 in |
| 3,600 px | 12 in | 24 in |
| 4,096 px (“4K”) | 13.7 in | 27.3 in |
| 4,500 px | 15 in | 30 in |
Width shown; do the same for height. Large wall art seen from across a room can sometimes go lower than 150 DPI; shirts, mugs and stickers usually can’t.
This is why a 1,024-pixel image, still a common size for AI generators, isn’t print-ready for a full-front shirt: at 300 DPI it covers about 3.4 inches. For a big print you need a native high-resolution render, a good upscale or a vector version. (Our comparison of the best AI image generators for t-shirt designs compares their output resolution, transparency and text accuracy.)
Free print DPI checkerUpload a design and see exactly how large it can print sharply.If you design in POD Made Easy, this check is built in: every print-ready final shows its pixel size and how large it prints at 300 DPI, and the product builder shows a live DPI check as you place the design on each print area.
You don’t have to fill the whole print area
4500 × 5400 is the canvas, not a rule that your artwork must touch every edge. The pixel dimensions set the maximum; the artwork inside them sets what actually prints, and transparent areas print nothing. A few practical points:
- Full width is big. A 15-inch-wide graphic covers most of the chest on a small shirt. Look at mockups at real scale and consider something closer to 10–12 inches wide for adult tees, then adjust to taste.
- One file often covers every size. In many POD setups the same print file is used from small to 3XL, so check the design on the smallest and largest sizes you sell.
- Empty space still positions the art. If your artwork sits in the top half of a transparent canvas, that’s where it prints. Trim the canvas if you’d rather place the design yourself in the provider’s editor, but don’t scale it past the DPI floor when you do.
- Small placements have their own templates. Left-chest, sleeve and back-neck prints use much smaller areas, often only a few inches wide, so text on them needs to be short and bold.
Design sizes for stickers, mugs, posters and more
Every product has its own print area, and the same product can differ between print partners. Use these ranges to plan your artwork, then download the exact template, or read the print-area pixels in your provider’s product editor, before you export the final file.
| Product | Typical print size | Pixels at 300 DPI | Notes |
|---|---|---|---|
| T-shirt, full front | Up to about 15 × 18 in | Up to 4500 × 5400 | Some partners use a smaller area |
| Hoodie, front | Usually smaller than a tee | Check the template | The pouch pocket limits the area; avoid printing across its seams |
| Left-chest print | About 3–5 in wide | About 900–1,500 wide | Keep text short and bold |
| Kiss-cut sticker | About 2–6 in per side | About 600–1,800 per side | Size for the largest sticker you sell; the cut line usually follows your transparent edge |
| 11 oz mug, full wrap | About 8–9.5 × 3.5–4 in | About 2,400–2,850 × 1,050–1,200 | Varies a lot by partner; leave room around the handle |
| Poster, 12 × 18 in | 12 × 18 in | 3600 × 5400 | Some partners ask for extra bleed |
| Poster, 18 × 24 in | 18 × 24 in | 5400 × 7200 | A different aspect ratio from 12 × 18 |
| Poster, 24 × 36 in | 24 × 36 in | 7200 × 10800 | Seen from a distance, so about 150 DPI (3600 × 5400) is usually acceptable |
Planning ranges only. Print areas vary by product, brand and print partner, and they change. Always check your provider’s current template.
Posters add one more rule: match the aspect ratio. A 2:3 image fits 12 × 18 and 24 × 36 without cropping, but 18 × 24 is 3:4, so the same artwork gets cropped or padded. If you sell several sizes, design at the largest size in each ratio and check every crop.
Each of these products has its own quirks, so we’ve covered them separately: the hoodie and sweatshirt design size guide (pockets and sleeves), mug design sizes for 11 oz and 15 oz, sticker sizes and cut lines, and a poster print size cheat sheet.
Full-bleed products such as posters, phone cases and all-over prints may also need bleed: extra artwork past the trim line, so a slightly off cut never leaves a white sliver. The template shows how much to add.
Vector vs raster: which should you use?
Everything so far applies to raster images: PNGs and JPGs built from a fixed grid of pixels. Vector files (SVG, AI, EPS and many PDFs) work differently. They store shapes as math (points, curves and fills), so they can be rendered at any size with perfectly crisp edges.
| Vector (SVG, AI, EPS) | Raster (PNG, JPG) | |
|---|---|---|
| Scaling | Any size, no loss of sharpness | Shrinks cleanly; enlarging softens it |
| Best for | Text, logos, flat illustration, line art | Painterly art, photos, textures, soft gradients |
| Transparency | Built in: empty areas are simply empty | PNG supports it; JPG doesn’t |
| Upload format | SVG support varies by provider | PNG is accepted almost everywhere |
| Editing later | Easy: change a word or a color | Harder: changes mean repainting pixels |
The practical workflow for most POD sellers: keep a vector master whenever the design allows it, and export a PNG at the exact print-area pixel size for each product. You get perfectly sharp text on a shirt today and a clean re-export for a poster or mug tomorrow.
Not every design can be a vector. Watercolor textures, detailed painterly work and photographic images are raster by nature. For those, generate or paint at the highest resolution you can, and upscale carefully if you have to.
Try this idea in POD Made Easy
“Flat vector illustration of a vintage camper van under pine trees, four-color palette, isolated on transparent background”
Can you rescue a low-resolution design?
Sometimes. You have three options, from best to worst:
- Recreate or vectorize it. Flat artwork and lettering can be traced into vectors, automatically or by hand, and then exported at any size. Auto-tracing works best on clean, simple shapes, so check curves and letters closely afterward.
- Use an AI upscaler. Modern upscalers add plausible detail instead of just blurring pixels, and can turn a 1,024-pixel image into a usable print file. They can also invent problems, such as warped letters or waxy textures, so inspect the result at 100% zoom before you publish.
- Print it smaller. If neither works, shrink the print to what the pixels support. A crisp 8-inch print looks better than a blurry 12-inch one.
What doesn’t work is enlarging the image in a basic editor and hoping. Standard resampling blends the pixels you already have, so edges get softer, not sharper. For step-by-step methods, see how to vectorize an image for print and how to upscale an image without blurry shirts.
Common sizing mistakes to avoid
- Designing small and scaling up at the end. Set up your canvas at the final pixel size from the start, so every brush stroke and every letter is created at print resolution.
- Trusting the DPI number in file properties. A file labeled 300 DPI can still be 800 pixels wide. Always check the pixel dimensions.
- Letting the editor stretch your design. Dragging a design bigger in a provider’s product editor lowers its effective DPI. Check the resolution indicator after every resize.
- Exporting as JPG. JPG compression adds blotchy artifacts around sharp edges and throws away transparency, so the background prints as a box on colored shirts.
- Ignoring the canvas shape. A square design dropped into a 5:6 print area leaves space above or below it. That’s fine, as long as you position it on purpose.
Skip the pixel math
Pick a product and POD Made Easy delivers your design at that product’s exact print-area pixel size (vector SVG, transparent PNG or 4K artwork), checks resolution and transparency, and spell-checks any text before you can publish. No resizing, no guesswork.
Start your free trialA 60-second pre-upload checklist
- Pixels: does the file match the print area of this exact product and print partner?
- Effective DPI: at the size it will print, is it close to 300, and definitely not far below 150?
- Format: PNG with a transparent background for shirts, stickers and mugs (here’s how to make a clean transparent PNG); JPG only for full-bleed art with no transparency.
- Color: RGB (usually sRGB) unless your provider asks for something else. Neon and very saturated colors often print duller than they look on screen (more in RGB or CMYK for print-on-demand).
- File size: under your provider’s upload limit. Merch on Demand, for example, caps its PNG uploads at 25 MB.
- Text: proofread every word, letter by letter, at 100% zoom.
- Preview: check the mockup on your smallest and largest sizes, on light and dark garments.
Get these numbers right once and sizing stops being something you think about. From there, the design itself does the selling.
Frequently asked questions
- What size should a t-shirt design be for print-on-demand?
- For a full-front print, 4500 × 5400 pixels (15 × 18 inches at 300 DPI) is the common standard. Check the print area for your exact product in your provider’s editor, because it varies by garment and print partner.
- Is 150 DPI good enough for t-shirts?
- 150 DPI at the printed size is a common minimum and can look fine for bold artwork on fabric, but 300 DPI is the safer target, especially for text and thin lines. Below about 150 DPI, prints tend to look soft or pixelated.
- Does changing the DPI setting in Photoshop improve print quality?
- No. Changing the DPI number without resampling only changes metadata, and resampling up just blends the pixels you already have. To print larger and sharper you need more real pixels: a higher-resolution original, a good AI upscale or a vector version.
- Should I upload a vector file or a PNG?
- Keep a vector master for text and flat artwork, then export a PNG at the exact print-area size for each product. PNG is accepted almost everywhere, while SVG support varies between providers.
Keep reading
More design guides
Design
Hoodie Design Size: Print Areas, Pixels and Placement (2026)
Hoodie design size for print-on-demand: real print areas from Printful’s catalog, pixels at 300 DPI for front, back, sleeves and left chest, and placement tips.
Sep 24, 2026 · 10 min read
Design
Best AI Image Generators for T-Shirt Designs (2026)
The best AI image generator for t-shirt designs depends on the job. We compare 8 tools on text, transparency, resolution, vector output, rights and cost.
Sep 24, 2026 · 13 min read
Design
How to Make a Vintage T-Shirt Design That Prints Cleanly
Make a vintage t-shirt design with retro palettes, sunset stripes, badges, halftones and distressing, without the semi-transparent pixels that ruin DTG prints.
Sep 24, 2026 · 10 min read